


Hey friends! I know it's been a minute since I've been on the blog, but here I am, middle of summer, working on a grad school course while simultaneously thinking about back to school and enjoying the summer. lol. If that's even possible.
I had a request from a follower to share some of my favourite math picture books, so here I am with a list of books to go with a few areas of math skills from the early years. (Disclaimer: affiliate links will take you to Amazon, where I might get a small kick back from books purchased. These books are all ones that I have and use in my classroom though.)
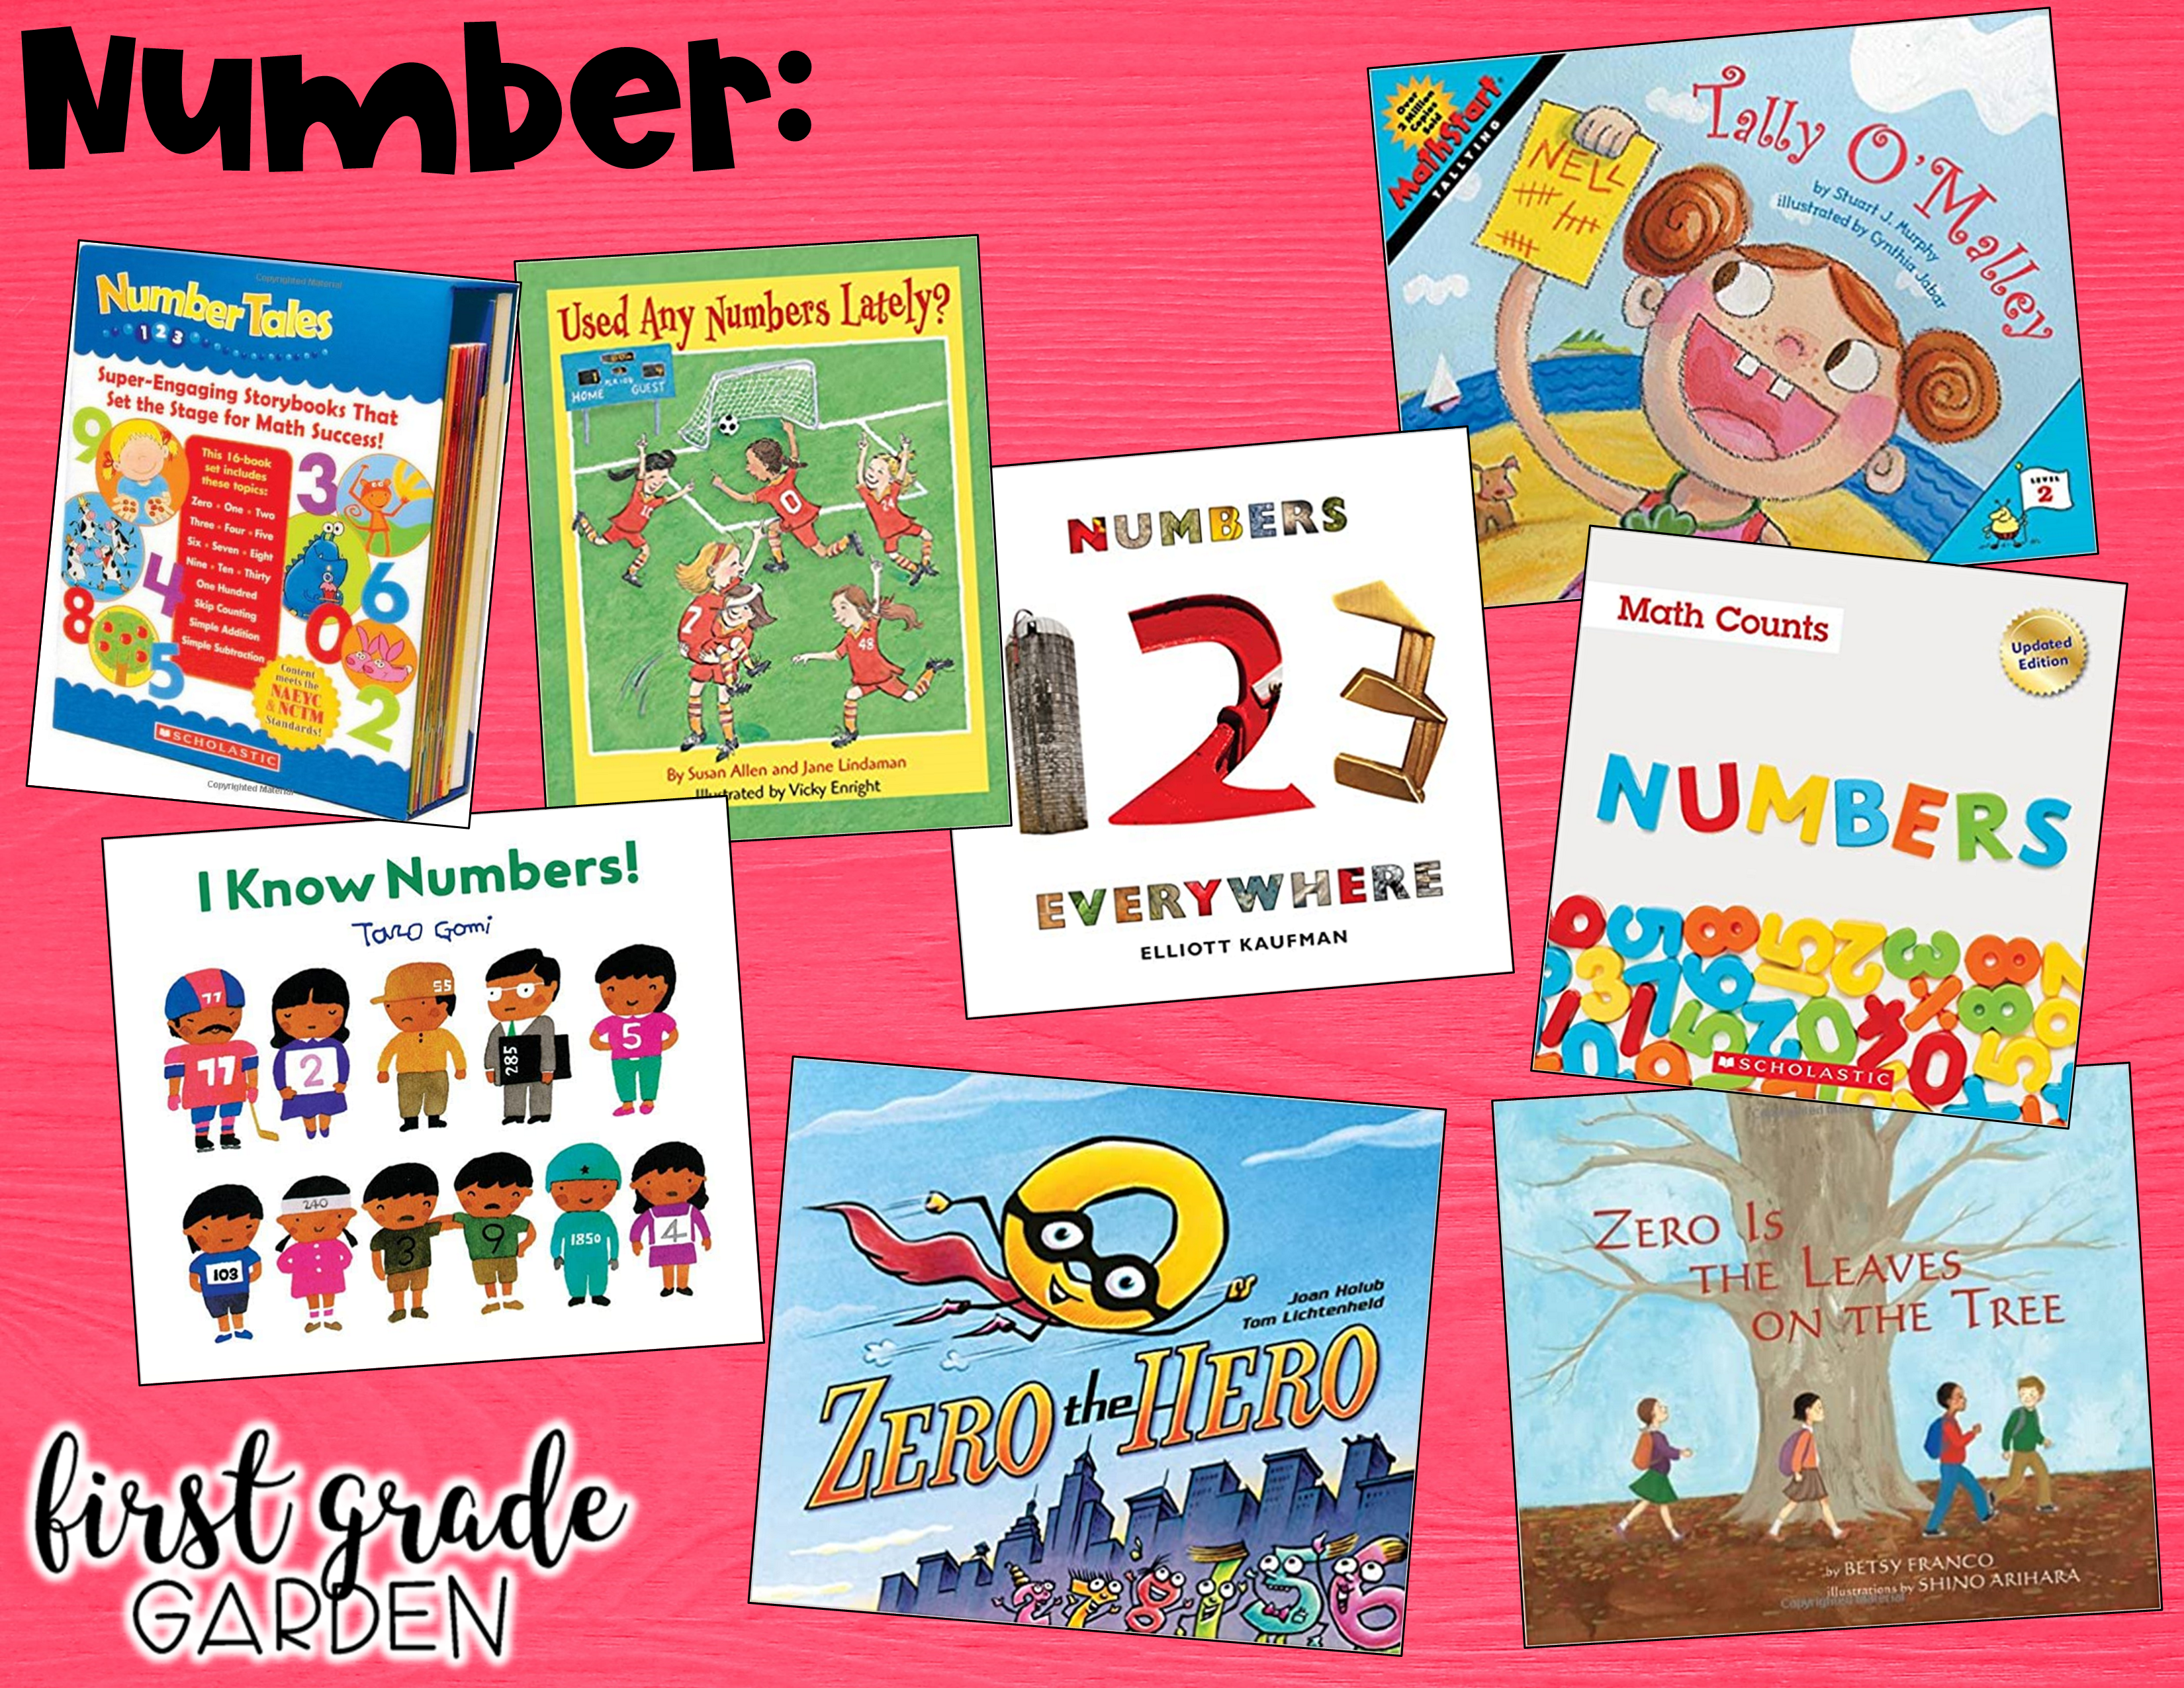
Books About Number:
Tally O'Malley by Stuart J. Murphy - learn about representing numbers through tally marks
Numbers Everywhere by Elliott Kaufman - see real-life pictures of numbers around us
Used Any Numbers Lately? by Susan Allen - discuss the real-life uses of numbers
I Know Numbers! by Taro Gomi - discusses what we use numbers for and where we see them
Number Tales Box Set - Scholastic - I can't find this set on Amazon, but check Scholastic. This set of books has a number story for every number 0-10, plus 30, 100, skip counting, addition, and subtraction.
Zero the Hero by Joan Holub - importance of the number zero
Zero Is The Leaves On The Tree by Betsy Franco - how to "see" zero in real-life situations
Math Counts: Numbers by Henry Pluckrose - nonfiction book about numbers

Books About Counting:
Count the Monkeys by Mac Barnett - silly counting book
Every Buddy Counts by Stuart J. Murphy - counting objects to 10
How Many Legs? by Kes Gray - silly animal leg counting/adding book
Jack the Builder by Stuart J. Murphy - counting on strategy
Mouse Count by Ellen Stoll Walsh - counting to 10
Quack And Count by Keith Baker - counting/adding to 7
The Three Little Pigs Count to 100 by Grace Maccarone - counting to 100
One Hundred Ways to Get to 100 by Jerry Pallotta - ways to count to 100

Books About Skip Counting:
98, 99, 100! Ready or Not, Here I Come by Teddy Slater - skip counting by 5s, 10s, 20s to 100
Eggs And Legs: Counting by Twos by Michael Dahl - skip counting by 2s
Lots Of Ladybugs: Counting by Fives by Michael Dahl - skip counting by 5s
Reese's Pieces Count By Fives by Jerry Pallotta - skip counting by 5s
Leaping Lizards by Stuart J. Murphy - skip counting by 5s and 10s
Spunky Monkeys on Parade by Stuart J. Murphy - skip counting by 2s, 3s, and 4s
Toasty Toes: Counting by Tens by Michael Dahl - skip counting by 10s
Skip Counting by Jennifer Boothroyd - nonfiction book about concept of skip counting

Books About Addition:
Albert Doubles the Fun by Eleanor May - doubles math facts
Animals on Board by Stuart J. Murphy - adding
Domino Addition by Lynette Long - adding with domino dots
Double the Ducks by Stuart J. Murphy - doubles math facts
If You Were A Plus Sign by Trisha Speed Shaskan - plus sign/what is addition
Mice Mischief: Math Facts in Action by Caroline Stills - tens partners
Mission: Addition by Loreen Leedy - adding
Ten for Me by Barbara Mariconda - tens partners
Ten Magic Butterflies by Danica McKellar - tens partners

Books About Subtraction:
The Action of Subtraction by Brian P. Cleary - subtracting
Subtraction Action by Loreen Leedy - subtracting
Elevator Magic by Stuart J. Murphy - subtracting
Pete the Cat and the Missing Cupcakes by James Dean - subtracting from 10
If You Were A Minus Sign by Trisha Speed Shaskan - minus sign/what is subtraction
Monster Musical Chairs by Stuart J. Murphy - subtracting one
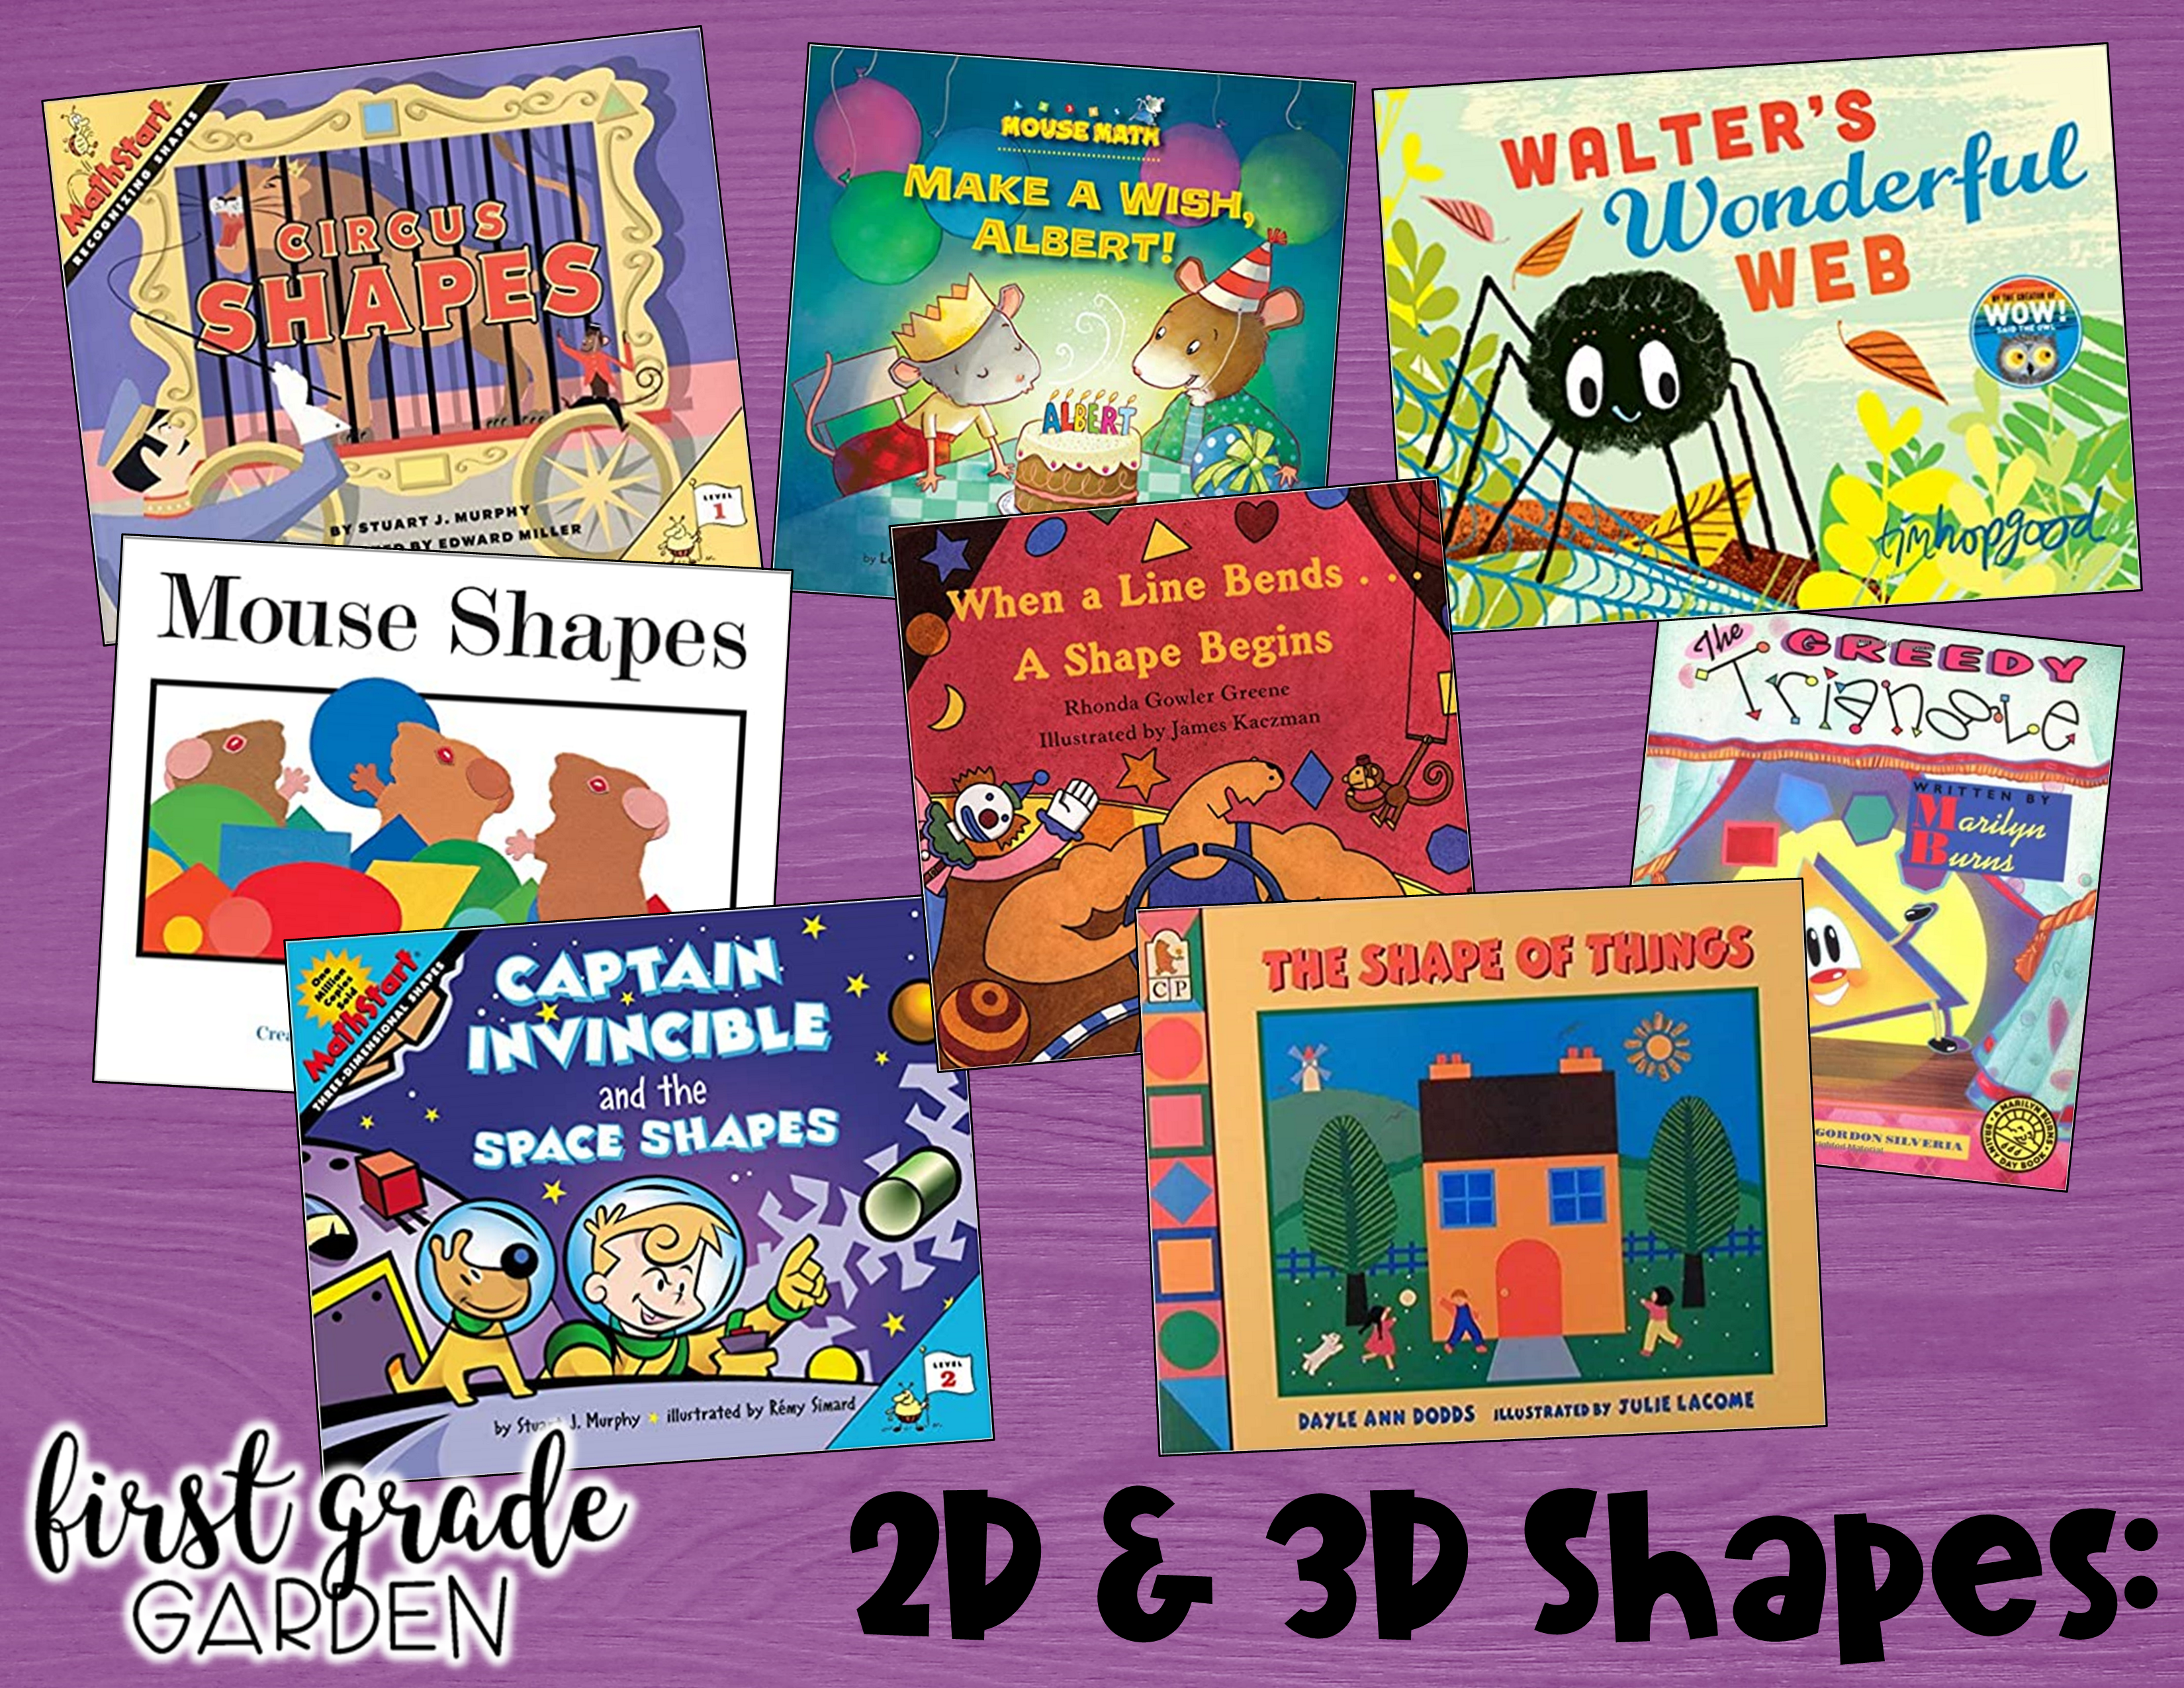
Books About Shapes:
Make a Wish, Albert! by Lori Haskins Houran - 3D shapes
The Greedy Triangle by Marilyn Burns - 2D shapes/number of sides
The Shape of Things by Dayle Ann Dodds - 2D shapes
Walter's Wonderful Web by Tim Hopgood - 2D shapes
Circus Shapes by Stuart J. Murphy - 2D shapes
Mouse Shapes by Ellen Stoll Walsh - 2D shapes

Books About Measurement:
Actual Size by Steve Jenkins - actual size of animal parts
Me and the Measure of Things by Joan Sweeney - what is measurement
Measuring Penny by Loreen Leedy - types of measurement/types of units
A Beach for Albert by Eleanor May - measuring capacity
Balancing Act by Ellen Stoll Walsh - balance/weight/mass
How Long?: Wacky Ways to Compare Length by Jessica Gunderson - measuring length
How Tall?: Wacky Ways to Compare Height by Mark Weakland - measuring height
How Big?: Wacky Ways to Compare Size by Jessica Gunderson - measuring size/weight
The Best Bug Parade by Stuart J. Murphy - measuring size/length
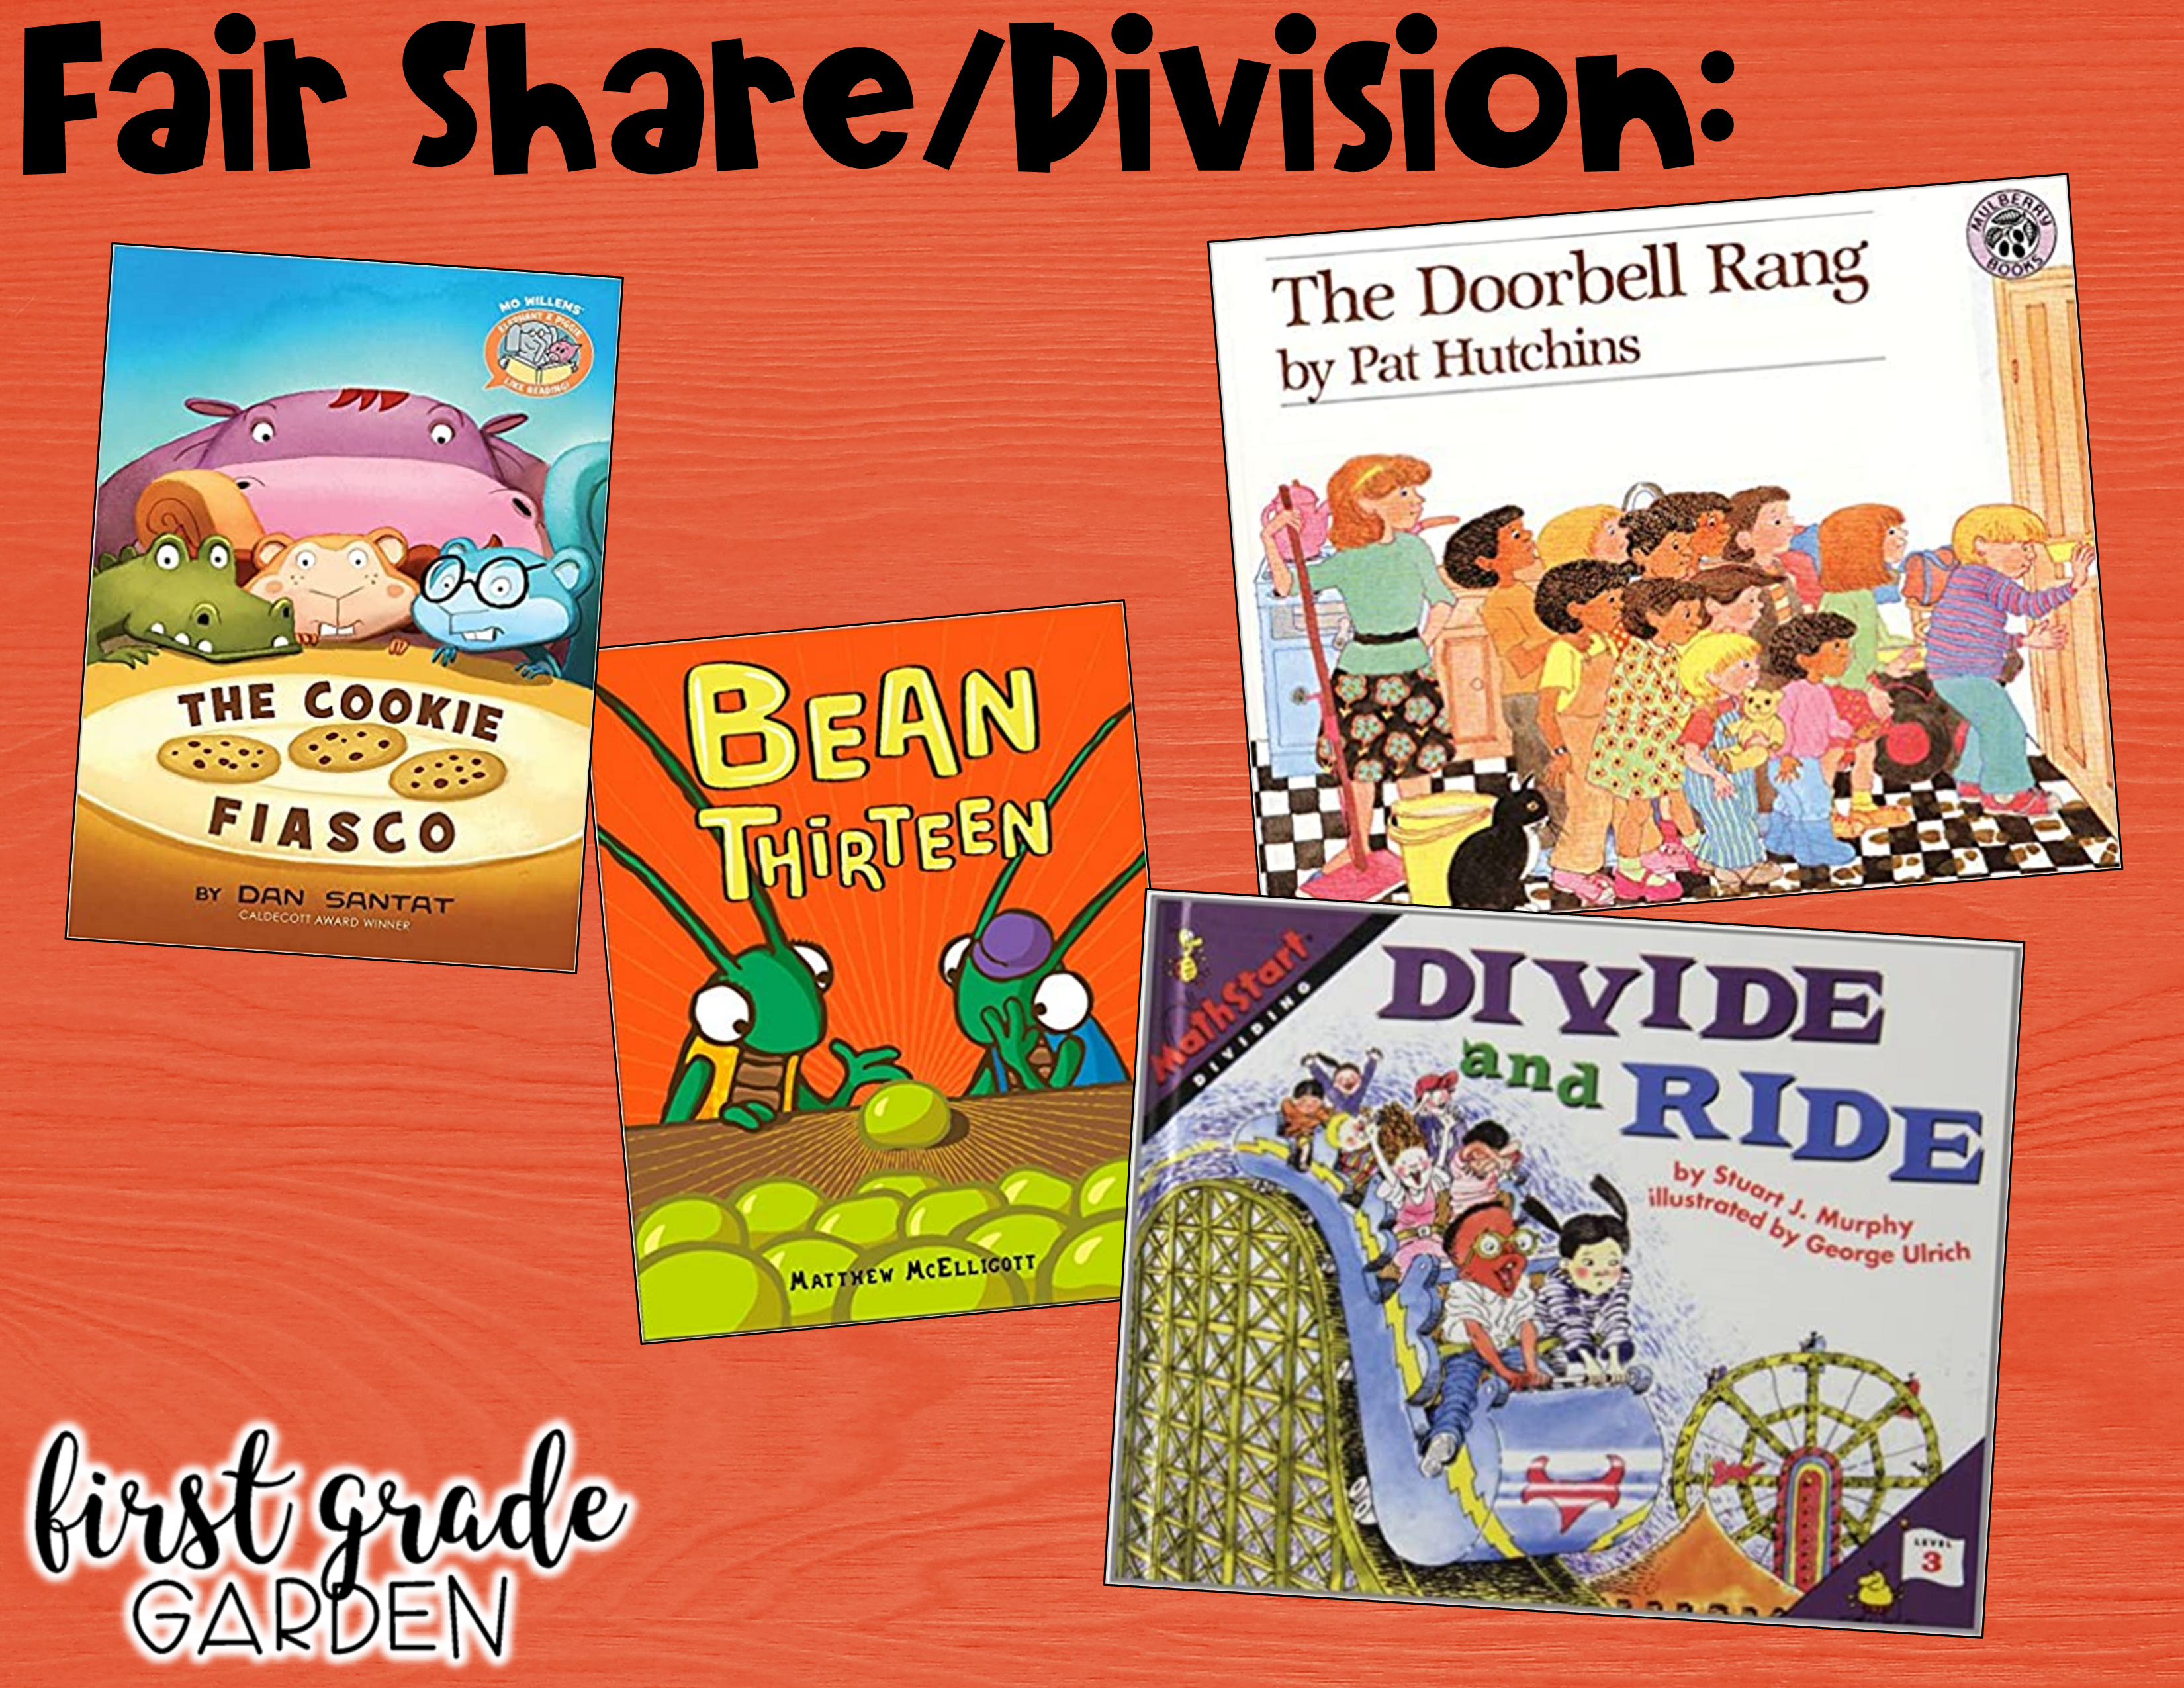
Books About Fair Share/Division:

Books About Patterns:
A-B-A-B-A―a Book of Pattern Play by Brian P. Cleary - what are patterns
Beep Beep, Vroom Vroom! by Stuart J. Murphy - repeating patterns
Teddy Bear Patterns by Barbara Barbieri McGrath - repeating patterns
A Pattern for Pepper by Julie Kraulis - patterns on cloths/fabric/types of patterns
Math Counts: Pattern by Henry Pluckrose - nonfiction book about patterns
Pattern Bugs by Trudy Harris - repeating patterns
Pattern Fish by Trudy Harris - repeating patterns
Spotty, Stripy, Swirly by Jane Brocket - repeating patterns
Flow, Spin, Grow: Looking for Patterns in Nature by Patchen Barss - patterns in nature
Bees, Snails, & Peacock Tails: Patterns & Shapes . . . Naturally by Betsy Franco - patterns in nature
Hope you found some new-to-you titles to check out and add to your classroom or school library! Are there any books I missed that you would recommend? Comment below!